It always comes back to the noise.
I was starting to use my last build for more things than just WoWS (making WoWS videos!), and I decided that it was too loud. It’s not that it was insanely so – far from it, even at full load – but it was noisy enough to be distracting at moderate loads. Trying to quiet the machine down of course led me down the slippery slope to what is practically a new build…
Originally I thought that the loudest part of the machine was the CPU cooler. I used the stock HSF because it had been fine in PKC build, but that case had better airflow and the fan probably didn’t need to work as hard. In the SFF machine, it seemed like it was ramping up and down a lot more with CPU load.
Thus I wanted to get a new cooler, but I wanted something big enough and overkill enough to ensure that it would be quiet, and for that I needed a bigger case! Enter the Thermaltake Core G3:
When I got the G3 there were a number of reasons that I liked it enough to try it out:
- still a small form factor design (not quite as small as, but with a more conventional layout than RVZ01)
- uses an SFX PSU (so I can reuse the one in the RVZ01)
- supports an mATX motherboard (more on that in a bit)
- is relatively inexpensive even new
- has a window!
The new heatsink I bought was the Cooler Master Hyper 212, which is a cheap mid-range air cooler with more than enough cooling capacity for my 65W CPU.
… and then I found out it didn’t fit.
This was a total brainfart; I didn’t even consider that the Hyper 212 wouldn’t fit in the G3 until both parts were in my hands. The height of the cooler is 160mm and the width of the case is 140mm, so it isn’t even close. Oops.
I played around with a couple different heatsink and fan combinations, but despite the things I originally liked, I ultimately decided that I didn’t like the layout of this enclosure wasn’t good either.
A big issue was that it felt like I would need a lot of intake and exhaust fans to get sufficient airflow over the centrally positioned CPU, and that would be both trouble and noise. The lack of airflow is exacerbated by the fact that I can’t use a tower cooler due to the limited width of the G3, so the CPU fan can’t help direct air in any meaningful way either.
Maybe I could have found a satisfactory cooling setup had I played with heatsink and fan combinations more, but I was kind of blocked by the GPU mounting, and it was this awkward GPU mounting that killed the case entirely for me.
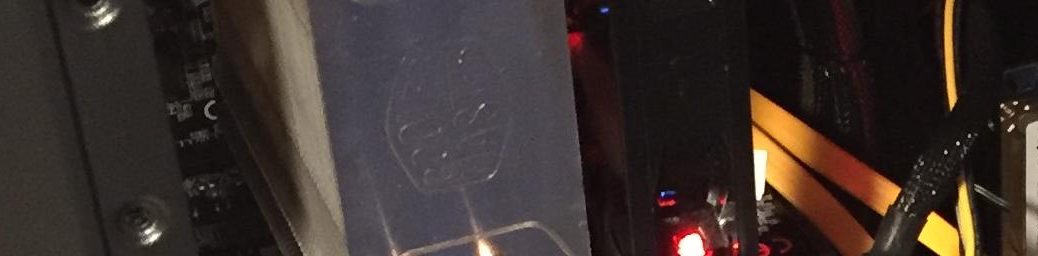
In the G3 a graphics card is installed above and parallel to the motherboard and connected with a very stiff feeling PCIe ribbon. Installing exhaust fans in the roof involved bending this cable very tightly, and I was somewhat not comfortable doing that. On top of that, a short GPU (lengthwise) would only be supported by the bracket at the back of card. The case comes with a plastic clamp that grips long graphics cards, but my short GTX 960 just hangs there, and I was really not comfortable with that.
So goodbye Thermaltake Core G3.
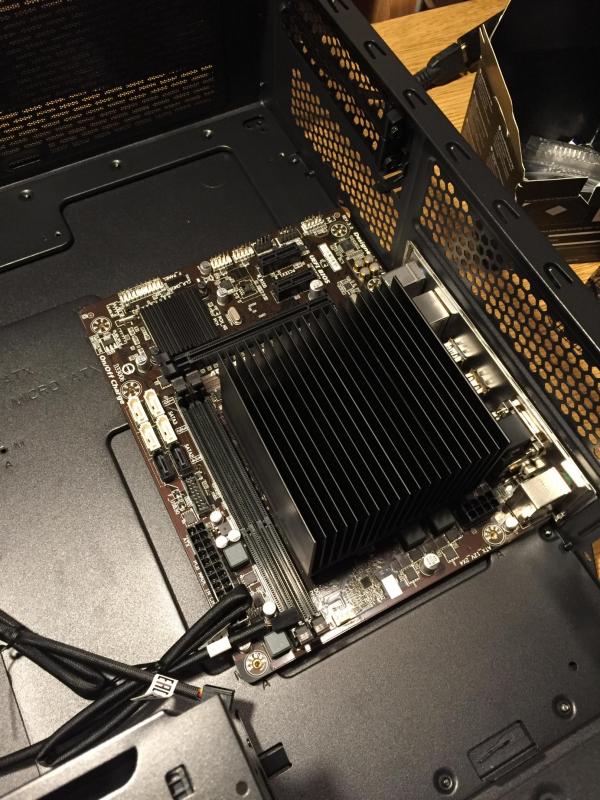
As an aside, the eagle-eyed will notice that the motherboard here is not the ASUS P8H61-I that I had before, and trying to address the following pet peeves was really where this project became an entirely new build:
- the old machine would not sleep, and I thought it could be an issue with that specific board
- the P8H61 did not have a USB3 front panel header: not really a practical problem, but it triggered my OCD
- that motherboard had a very steep ITX tax; an mATX part would have been half the price
So I found a good deal on the one-generation newer Gigabyte B85M-D2V and on the compatible i5 4570S, and sure enough the board was less than half the price of the ASUS board.
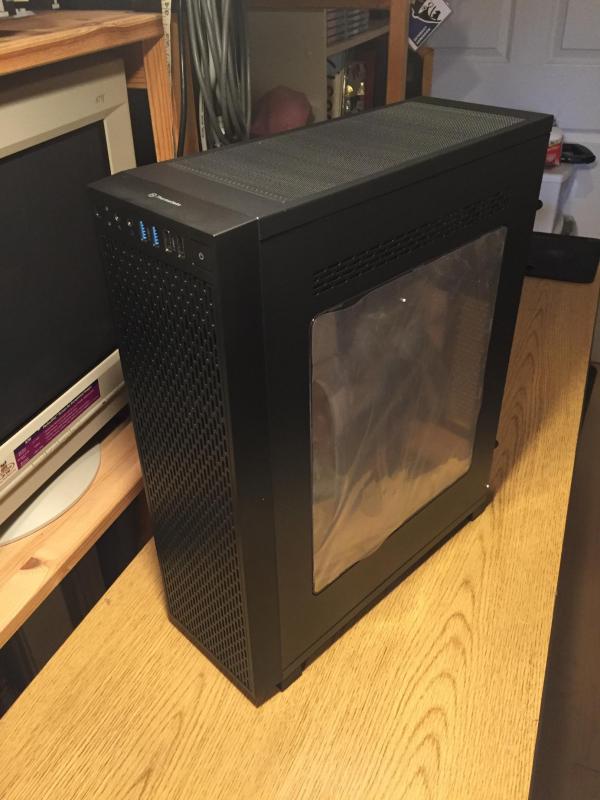
Anyway, at this point I had enough of SFX cases; even the simple looking G3 had more compromise than I would have liked to seemingly keep it thin, and that thinness would not benefit my peripheral setup in any meaningful way. I resolved to just get a normal mATX case, so enter the CoolerMaster Q300L.
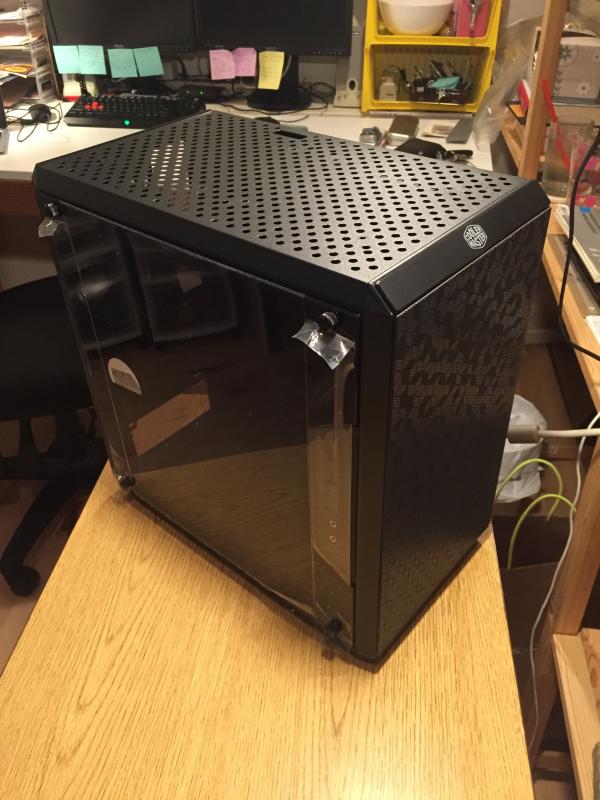
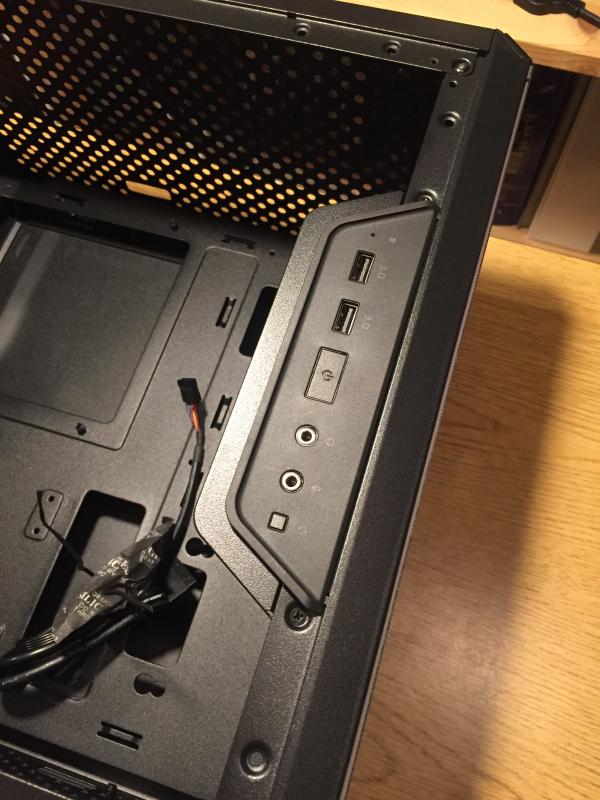
The Q300L is a very normal mATX enclosure that actually took me a while to find because it doesn’t have any particularly outstanding features. It does, however, have one gimmick that really spoke to me: the “front” panel is located on the side of the case. Furthermore, the panel can be mounted at the top, front, or bottom of the side! This is a really nice feature since I have the front of the case facing the wall.
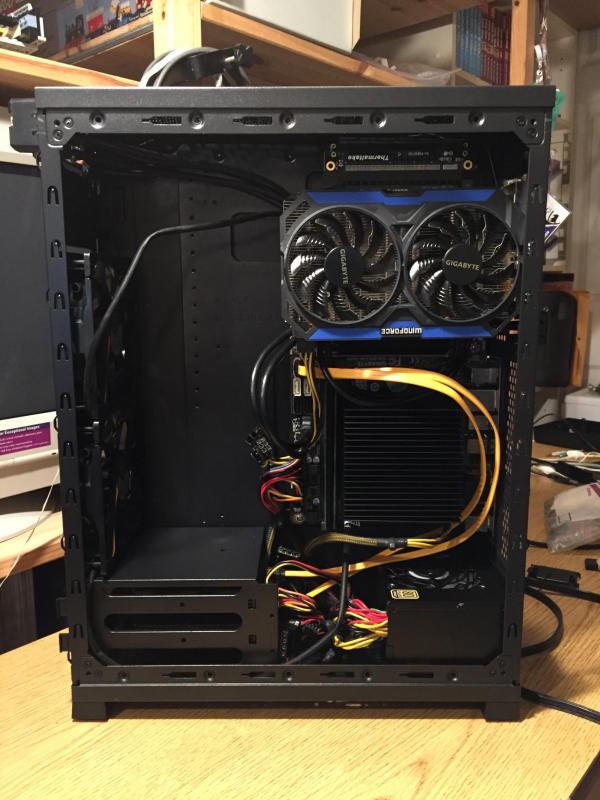
Some other nice bits are the included dust filters, the very large tinted window, the bottom-mounted PSU (and thus top-mounted exhaust fans), and the basic cable management: the motherboard tray is slightly raised such that you can stuff wires behind it. Installation of components was also smooth and simple, though even in the not-so-narrow Q300L (it’s wider than the PKC by at least an inch), the Hyper 212 barely fit!

It was at this point that, with a quiet CPU cooler and a quiet exhaust fan, I realized that the stock HSF might not have been the loudest part in the 2018 machine! Instead it may have been the SFX PSU with its tiny 80mm fan, but I just hadn’t been able to hear it until all the other noises went away.
And thus I picked up a very cheap used Corsair CX430 as the last part of this build. With the CX430 the whole thing is actually exceeding my noise expectations: it’s very quiet at idle (comparable to the original Colette or Motoko!), and only slightly louder at load; I’m quite happy.
| PART | COST |
|---|---|
| i5 4570S | $69 |
| 8GB DDR3 | $30 |
| Gigabyte B85M-D2V | $41 |
| Gigabyte GTX960 | $100 |
| Cooler Master Hyper 212 | $22 |
| Cooler Master Q300L | $51 |
| Corsair CX430 | $24 |
Just as with the last two builds, I’ve totaled the BoM minus the SSD and found that the 2019 machine cost the same as the 2018 machine, which makes sense given that this is basically a sidegrade trading space for noise and ergonomics. There is theoretically a small performance bump going from the 3570S to the 4570S, but it is probably too small to notice.

Since I’ve only got an mATX board and a short GPU, there’s a bit of empty space ahead of all the components… older cases might have had more drive bays there, but the Q300L has hard drives “hanging” off of the motherboard tray. It wasn’t entirely obvious at first, but if you look closely, I eventually knew what I had to do with this space!
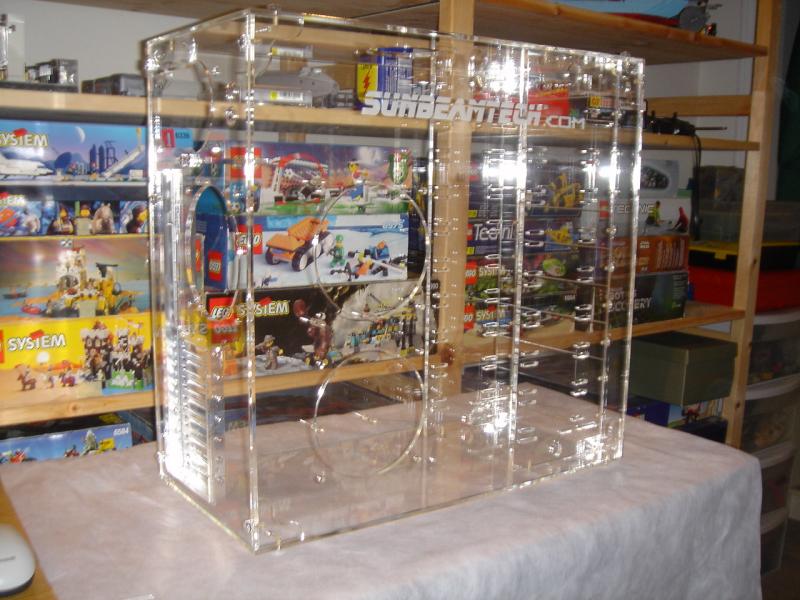
More than ten years ago I bought a totally clear acrylic tower with the intent of using it as a combination PC enclosure and anime figure display case. Due to various reasons nothing ever came of this, but now was the time to realize the dream! I bought a cheapo Kingwin RGB LED strip (it even has a remote!) to light the front corner and voila!
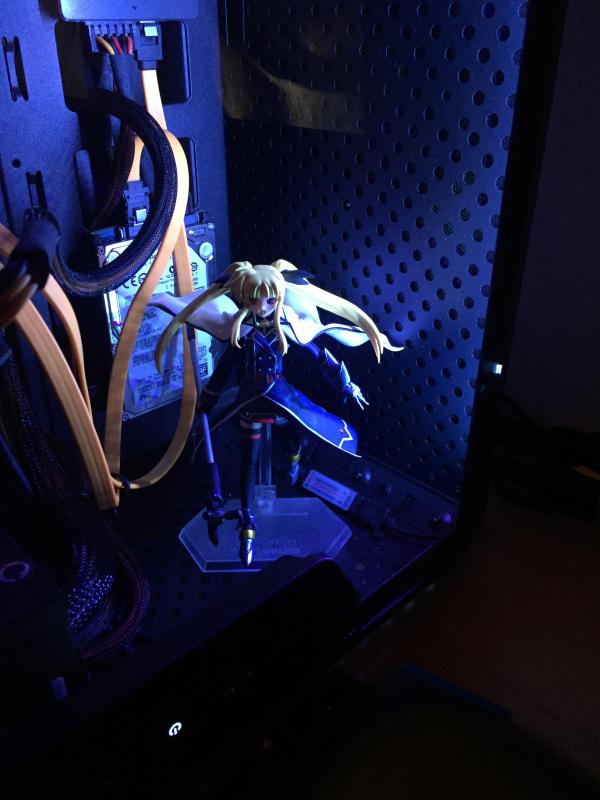
Should have plenty of clearance for larger figs in the future too…