Yes folks, with the Melvin more or less working properly, I had a great idea by which to revisit the Titanic: I decided to replace the foamcore cutout with a paper model.
Since 2011 I’d pretty much worked out all the functional kinks in the Titanic’s electronics and drive systems, and I had been working on improving the physical appearance. The foamcore silhouette was of course a cartoon of the ship, but anyone in the know could tell it was the Titanic, and it was a good first try. I hadn’t really considered a round two too seriously since I was somewhat stuck in the notion that a better model would be a plastic model, and that was practically impossible short of some crazy scratch build (but hold that thought).
Somewhere along the way I suddenly realized that there had to be free papercraft Titanic models out on the Internet and that these could be easily scaled up or down just like the schematics for the ACE and 5AT. I put two and two together and here was a very cheap and very easy way to vastly improve upon the appearance of foamcore Titanic. I told J about my brilliant idea and he didn’t tell me I was an idiot and so it began!
My main papercraft model is from a Mr. Currell, whose 1:1200 model got pretty good comments throughout my initial Google search. I say “main” because there were parts of the Currell model that I either did not like or were too fiddly and these were replaced with the equivalent from a Mr. Masayu’s also very lovely model; more on that later.
The most difficult part of this whole process (or the part that I had to do over the most times) was actually properly scaling the Currell model. I don’t actually have any tools to directly manipulate the pdf that Currell published, so I had to take screencaps of the pdf at an approximate size and paste into Paint Shop Pro. Then I printed and fitted the bow and stern deck pieces four or five times in order to determine the final scaling, and finally I had to place all the parts into their own psd files to ensure that I could print them without getting page breaks within parts. Oddly enough, the Currell pdf was vector based, yet I still got pixelated lines in the printout, so I think the default 72dpi setting in PSP is rubbish. The worst part is that after I began building, I found out that my scale was too small, and I had to restart completely with a new batch of parts about 3% bigger than the first.
Whew.
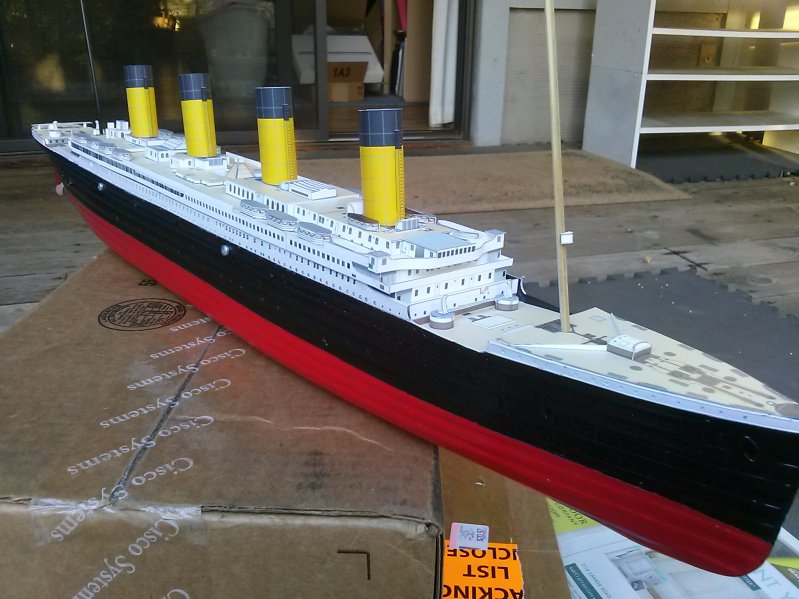
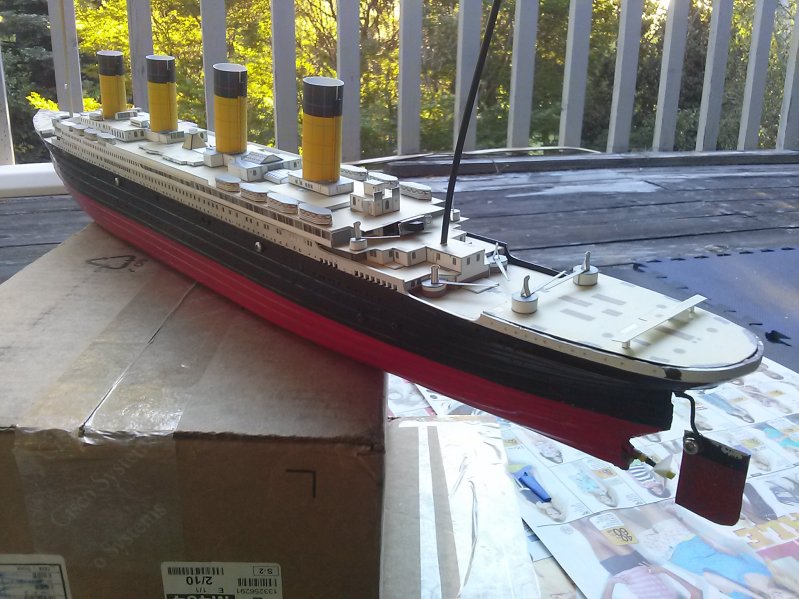
Other than that false start, the build went pretty smoothly. The second time around the decks fit perfectly. Since I’m only using the top half of Currell’s model, the decks are backed with a custom foamcore sub-structure which rests on the hull and on ridges in the hull as the original plastic model would have. The buildings on the deck are actually tacked together with hot melt and tacked to the deck with hot melt and foamcore strips. All the detailed bits are assembled with generic Elmer’s “Glue-All”, and in retrospect I should have used that throughout: hot melt is good at picking up slop, but there really wasn’t much slop and now a lot of the deck buildings are less than optimally attached. The trick with Glue-All is simply to apply with a toothpick and use as little as possible.
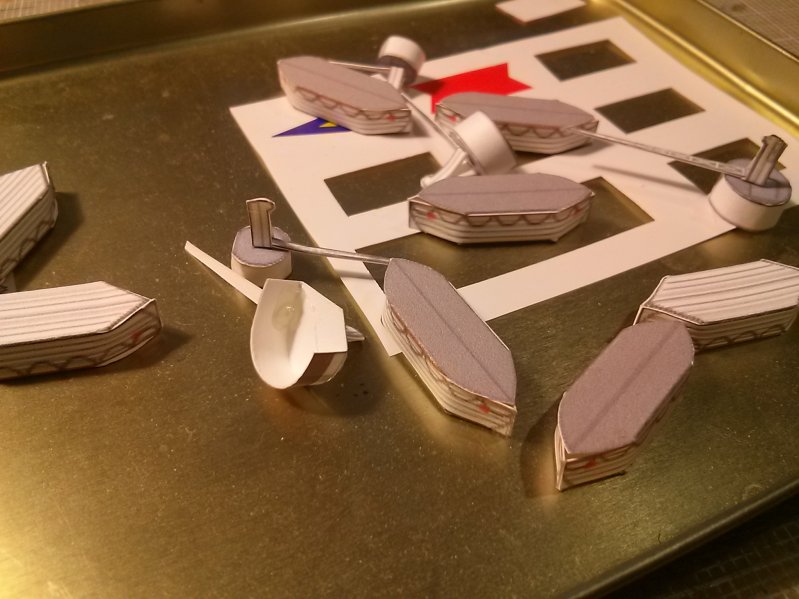
J and I both thought that Currell’s funnels seemed a little small, which is why I ended up using Masayu’s, which were maybe 15% larger in diameter at the same height. I didn’t think I could assemble Currell’s lifeboats consistently enough without a ton of fiddling, which is why I ended up using Masayu’s, which had tabs and stuff. I mentioned this in 2011, but the Internet is really fantastic for this kind of thing. Not only could I get the free model and scale it to the right size for my application, but I can say “Hey, I don’t like that part”, and go and find a replacement. Widespread 3D printing is going to take it to the next level. I think the three to five year down the line revision is going to be amazing(you can let go of that thought now).
Finally, since everything is printed in inkjet, it will turn into sadness if water gets on it, so the whole thing is spray “painted” with a Rustoleum matte clear coat. Obviously it won’t do much if the boat sinks or flips, but it does do a good job protecting the model from stray drops and spray. The clear coat also has a nice texture albeit an awful smell. I tried doing some wire rigging as with the Melvin, but i deemed it unfeasible for a variety of reasons. A feature to dream about for the 3D printed revision!
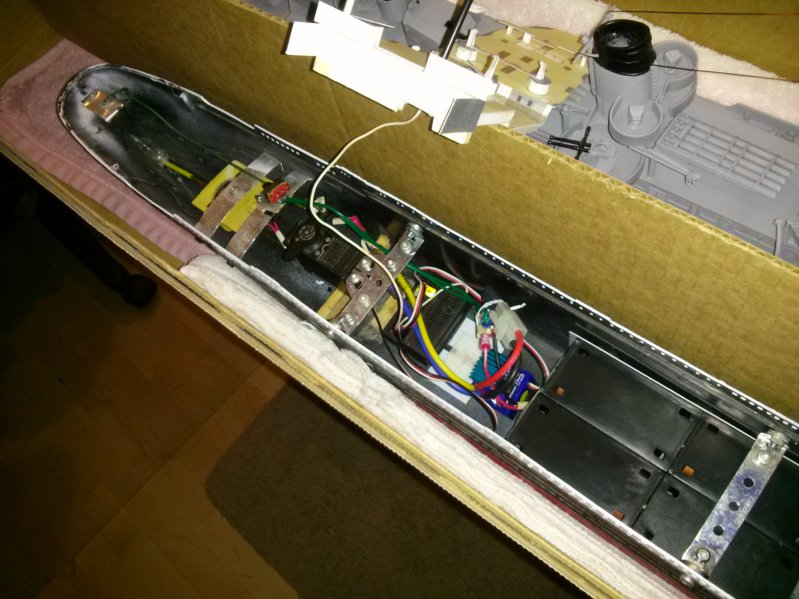
Functionally, the ship hasn’t changed too much. Since I have new RC gear in the Melvin, I can use my old kit here in the Titanic (and have a two ship fleet!). All of the braces in the hull are now Meccano instead of nonexistent or wood or plastic strips. I flipped the battery box over to lower the CG by another couple millimeters, and the rudder assembly was apparently already reinforced sometime between now and 2011. I did have to bend some metal to allow the servo-rudder linkage to run under the rear decks. I’m pretty sure that metal wire is actually from these paper flowers we made in 7th grade Spanish; I was green before it was hip f’sure.
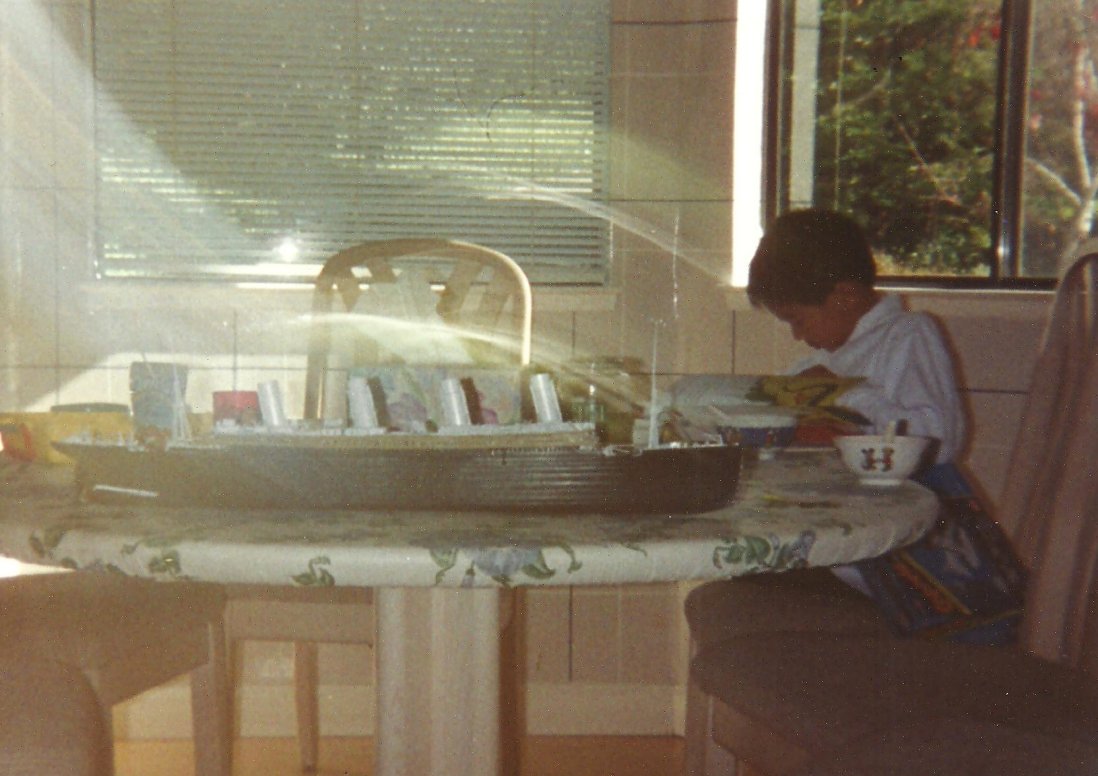
Here is a picture I actually wanted to post in 2011, but I didn’t find it until later. This is a scan of an admittedly crappy analogue photo of the Titanic when she was first completed in 1996 (I wasn’t 100% sure about the year in 2011, but now I can confirm it with the date on the back of the photo). Yes, I was trying to make this thing when I was seven, which is undoubtedly why it was rubbish. Pictures found near this picture also show kid me at Disneyland looking at the pay-to-play RC tugboats, and I’m pretty damn sure that is where my obsession with RC boating started. There was also a picture of me and my dad backed by a lovely (though static) model of the Queen Mary, presumably as how she is docked at Long Beach.
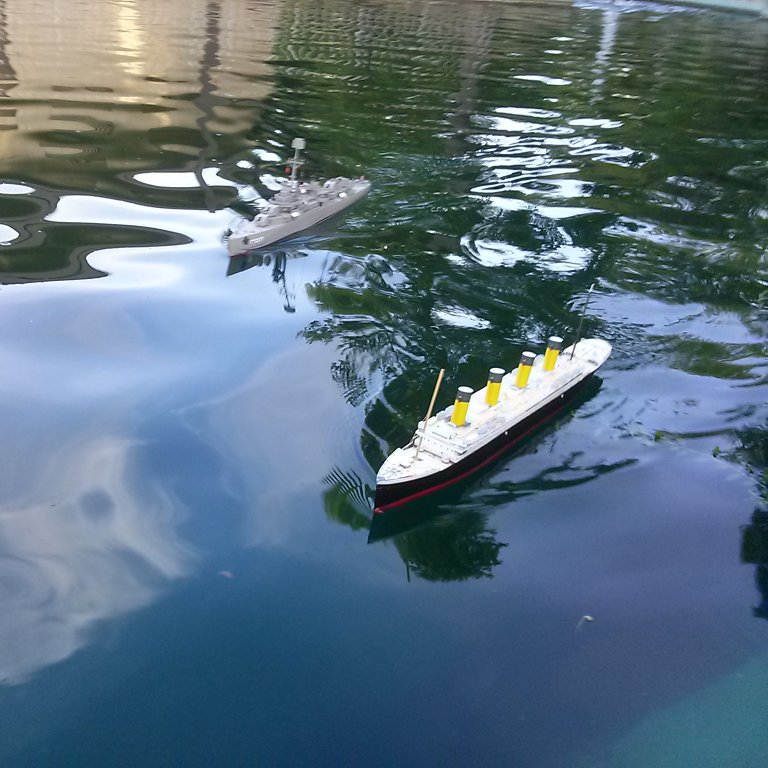
And her maiden voyage of the 2013 season was accompanied by both J’s boat Cipher and the Melvin. I was trying to drive (in coordination with J) and take pictures at the same time, so the pictures are kind of rubbish in a reflectively chaotic kind of way, but I’m keeping the pics since I don’t think I’ll see both boats together in the water again for a while. I actually thought the Melvin would be significantly slower, but she almost holds her own when everything is running optimally. Titanic performed about as well as I remembered and was in fact more stable than I remembered maybe due to the lower CG or the featherweight superstructure (and that is another reason I thought the papercraft idea was genius).
Anyway, between my LEGO trains and my two boats I think my first stabs in any serious modeling have been pretty good. I think the next boat project will be an attempt to turn Lucky Channel into a high-performance sort of unit. For the Titanic, the one thing I think I really want to do immediately is paint the insides of the funnels black; the white is turning out to be blindingly rubbish. A more detailed model with rigging would be nice, but like I said, a wishlist for the next revision…